Engraving pens come in a wide range shapes, sizes and capabilities. You want to find the one that is just right for you project.
As you read our guide to the best engraving pens, make sure to keep your planned project in mind to determine what tool will work best for you.
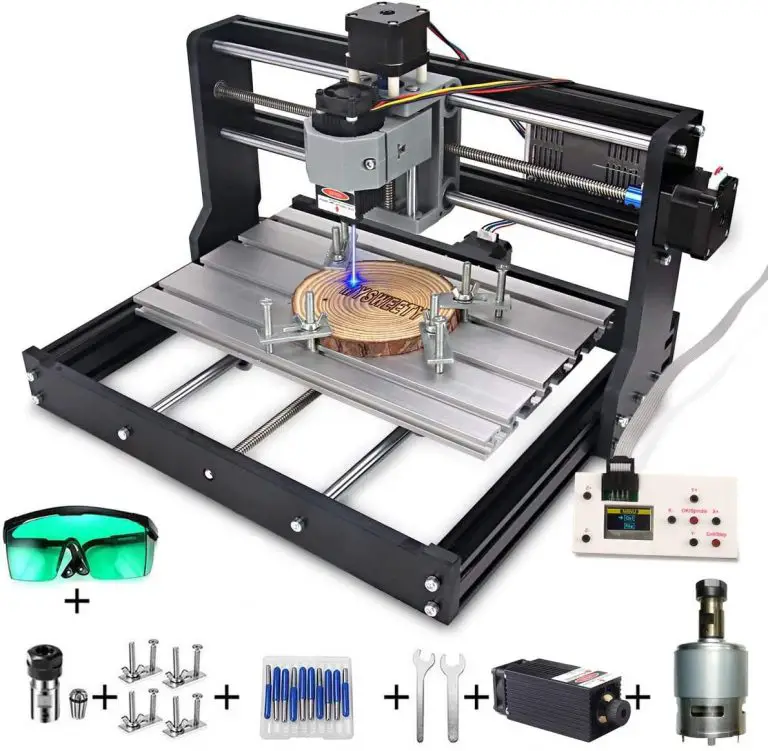
Some applications such as jewelry engraving will benefit from a smaller tool for more precise strokes. Other materials such as metal or glass will engrave better with a more powerful tool such as one of the engravers by Dremel below.
No matter what you are working with, we have laid out the best tools on the market and an extensive list of items at the bottom of the article for you to consider when looking for your right fit tool.
Name | Awards | Where to Buy |
Culiau Customizer | Best Overall Cordless Engraving Pen | |
Tidalpool Easy Etcher | Best Budget Cordless Engraving Pen | |
Tacklife PCG01B | Best Value Cordless Engraving Pen | |
Dremel 290-01 | Best Corded Engraving Pen | |
IMT Scriber | Best Manual Engraving Pen |
Best Overall Cordless Engraving Pen
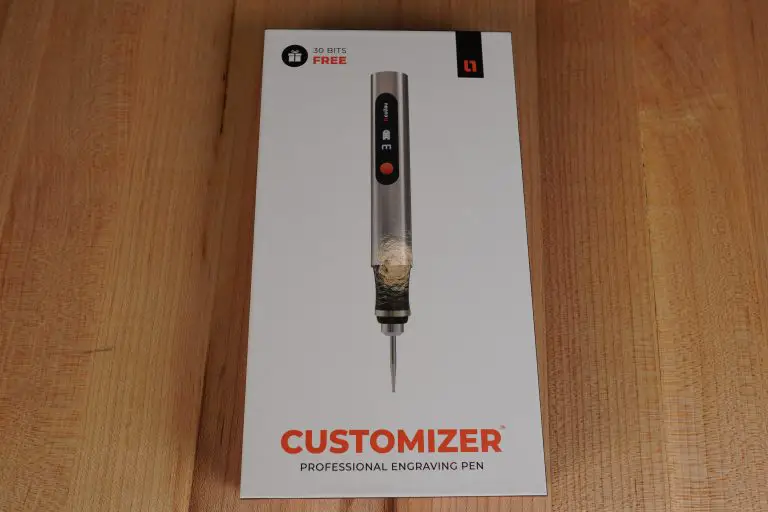
Culiau Customizer
Pros
Easy to handle and use
Customer service
Plenty of included bits
Cons
Not the cheapest option
The Culiau Customizer Engraving Pen is excellent choice for novices. Because the tool is so light, engraving is as simple as using a pen.
Don’t get me wrong, it will still take practice to get a nice, finished product but the Customizer is easier to use than some of the other bulkier engraving pens on the market.
The Customizer is roughly the size of a regular marker. The grip and light weight make controlling the engraver while in use a snap.

You can sketch with it just like a normal pen or pencil.
One of the biggest indicators of the quality is the feel of the tool. This is a well-built tool that feels good in the hand.
The flexibility of the Customizer makes the job as simple as drawing on paper. It works well on wood, including hardwoods, glass, and metals like steel, silver, and others.
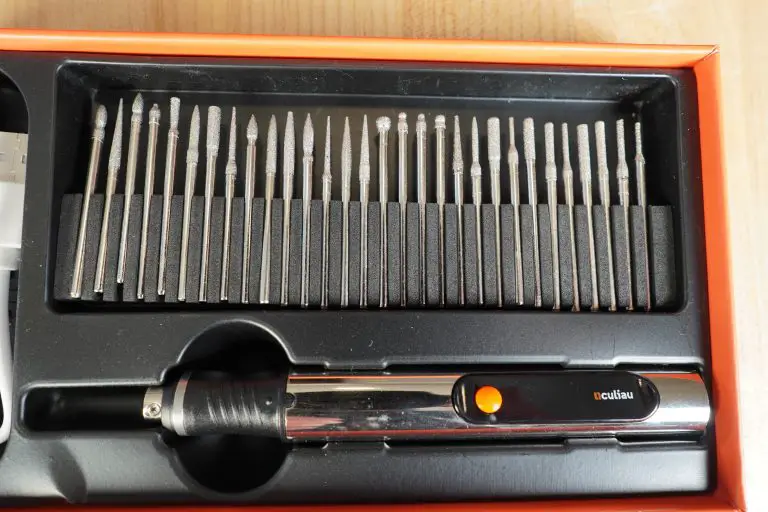
It is ergonomic, lightweight, and small. Because of this it is exceptionally comfortable to use and handle. The Customizer truly is a pocket-sized engraving machine.
The quality comes with a price though and the Customizer does cost more than many of the other engraving pens on the market. The cheaper engraving pens aren’t built as well, but if you only plan to use it for the occasional project then it might not be a big deal.
If you plan to use it a lot, I recommend going with an engraving pen that is a step above such as the Customizer from Culiau and skipping all the generic cheapy ones.
Best Budget Cordless Engraving Pen
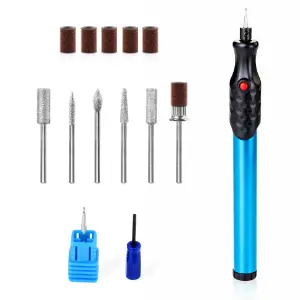
Tidalpool Easy Etcher
Pros
Lightweight
Easy to control
Included stencils
Cons
Underpowered
The Easy Etcher is an excellent engraving pen for beginners. The tool is so lightweight that engraving with it is as close to using an actual pen as you will get. The Easy Etcher is actually about the size of a standard marker.
The rubberized grip also helps keep the engraver under control while using it. While the 12,000 RPM speed may seem under powered when compared to other engraving pens, it actually helps keep the tool stable during use.
Runtimes will vary depending on the type of material you are working with, but the Easy Etcher runs on AAA batteries which means there is no waiting around for the tool to recharge. The batteries aren’t included but other extras are.
The Easy Etcher comes with 10 sets of stencils that make engraving text or designs on your material a piece of cake. It also comes with a nice starter selection of bits that allow you to create a variety of textures and finishes.
The Easy Etcher won’t be the be all, end all for engraving every material but it is a great tool to get you started without breaking the bank.
Best Value Cordless Engraving Pen
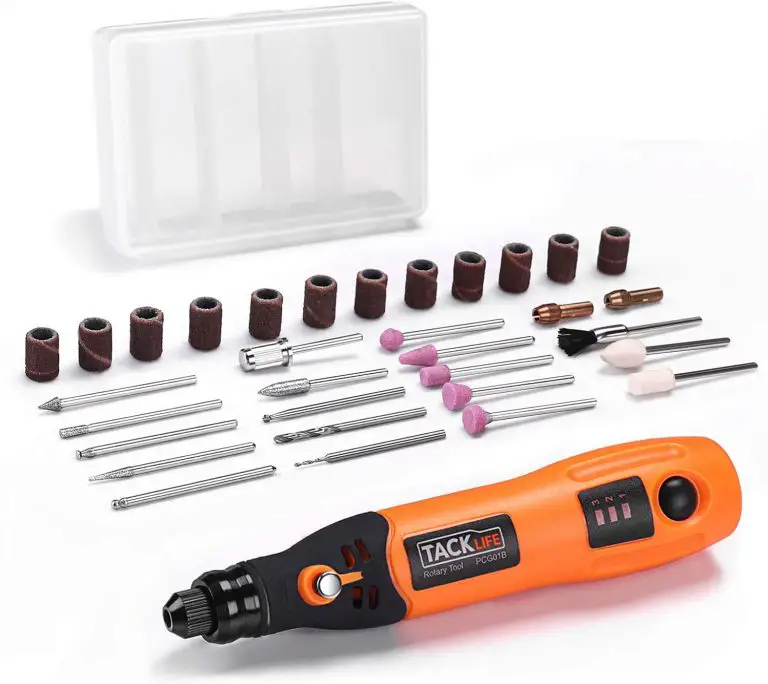
TACKLIFE PCG01B
Pros
Good power
Cons
Charge time
While the TACKLIFE PCG018 is not as nimble as the Easy Etcher it does a good job of making up for it in the power department. With similar price points, it would be wise to determine whether power or maneuverability is more important to you.
The PCG018 has 3 speed settings of 5, 10 and 15,000 RPMs. This means it will work well for a variety of materials.
This TACKLIFE engraving pen is cordless and rechargeable. It charges over USB which has some benefits and drawbacks.
The charge time is fairly long at 2 hours but with a runtime of 90 minutes it lasts long enough to complete most jobs.
Additionally, the tool comes with 31 different accessories for engraving, sanding and finishing along with a case to contain them all. Two collets to accommodate different bit sizes of 3/32” and 1/8” is also a nice addition.
The TACKLIFE PCG018 is a solid choice when it comes to cordless engraving pens.
Best Corded Engraving Pen
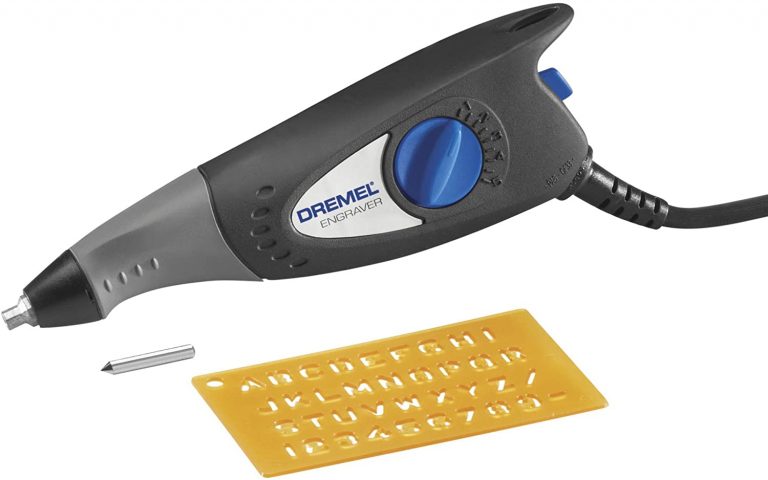
Dremel 290-01
Pros
Adjustable depth setting
Warranty
Cons
Cost
The Dremel 290-01 is different than most of the other engravers on this list. Instead of being a rotary engraver, it has a vibrating tip that moves in and out. Basically, it operates like a mini jackhammer.
Corded engraving pens like this Dremel have some advantages and disadvantages.
Being corded means that you are tethered to your power outlet and it can be slightly cumbersome to work with the power cord snagging on objects in your work area. The 290-01 is pretty lightweight though which makes maneuvering it around your workpiece a little easier.
A nice benefit of using a corded engraver is that you won’t ever run out of power. This is helpful for harder materials that may take multiple passes to get the amount of engraving you desire.
The power of the 290-01 is controlled with a dial that allows five depth settings. This works well to adjust for different material types such as wood or rock. All that power comes with the side effect that the tool is quite loud when running. You should expect it to be noisy. It is a power tool after all but take note that the other tools on this list are quieter.
There are a couple minor downfalls for the 290-01. The biggest one is that the bit can be difficult to install. The set screw that locks it is tiny and it can be challenging to work with.
Also, the provided stencil comes in handy but is somewhat lacking. Many other engravers come with a wider variety of stencils so keep in mind that you may want to purchase some extra stencils if you plan on engraving a lot.
On the plus side, just like this engraving pen’s cordless counterpart, the Dremel 290-01 comes with a two-year warranty which is well above what most competing engravers come with.
Overall, the Dremel 290-01 is a solid engraving pen. A couple minor inconveniences are balanced nicely by the higher, non-stop power that comes from being always plugged in.
Best Manual Engraving Pens
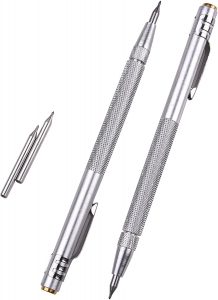
IMT Scriber
Pros
No power required
Cons
Doesn’t engrave as deep
If all you need is something basic and reliable for engraving then the manual scriber from IMT may be your best bet.
It requires no batteries or power cord. The tool is extremely lightweight and its tungsten carbide tip will engrave a large variety of materials including steel, ceramics and glass. If you are working with plastics though, a powered tool would be a better choice.
The IMT scriber will actually perform an operation that is more akin to scratching your material than actually engraving it. For many use cases, this is more than enough. Just keep this in mind when choosing your engraving pen.
It also comes with extra tips in case one snaps. They are somewhat brittle because they are so hard. They aren’t fragile but can break if you aren’t dropped or handled roughly. Luckily, the scriber comes with a protective cap that will help shield the point from damage.
The IMT scriber is definitely more low tech than some of the other engraving pen options available but if all you need is a simple engraver then it may be a great choice at a cheap price.
Things to consider when buying an engraving pen
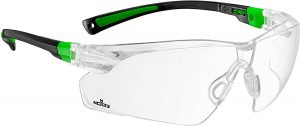
Safety
Remember that these tools can be dangerous, especially to your eyes. Be careful handling them and use eye protection to protect you from things such as flying chips or broken bits.
Corded vs cordless engraving pens
Corded engraving pens generally have more power than their cordless counterparts. The downside is that the cord can get in the way and make the tool more difficult to maneuver. The easiest engraving pens to use are those that are lightweight and battery operated.
Cord length
If you choose to use a corded engraving pen to have more power, keep in mind that the length of the power cord is very important. If the cord is short, then make sure that you have an extension cord handy because some of the power cords can be very short.
Speed
RPMs do not equal power. Being able to adjust your RPMs over a wider range is more beneficial than simply having a higher RPM overall. Different materials will require different RPMs. In general, materials such as glass or metal which are harder will benefit from a higher RPM and softer materials will engrave better at lower RPMs.
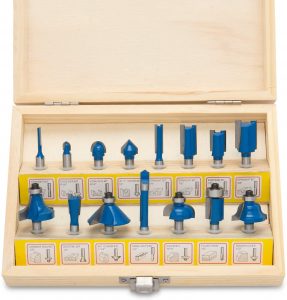
Bits and accessories
It is a nice bonus for an engraving pen to come with a good selection of bits and accessories but not a necessity. There are many bit or accessory kits available that allow you to perform different types of engravings or finishing to your piece for a fairly cheap price.
Extra bits aren’t required to start but before too long you will definitely want to expand your bit collection if your engraving pen doesn’t come with many. Different bits will allow you to different styles of engraving.
Battery
If you go the cordless route, make sure you find a tool that charges quick and has a long runtime.
Cheaper tools tend to run off standard AA or AAA batteries which means they can run out of power quickly but also that more power can easily be on standby. Keep extra batteries nearby but consider the amount of power you will need for your project when choosing which engraving pen to go with. Harder materials require more power.
Warranty
Pay attention to the length of the warranty for your tool. Just like many other power tools, a good warranty is a solid indicator of the quality of the tool. This doesn’t mean that good tools don’t come with shorter warranties, just that it is something to be mindful of.
Stencils
Stencils can be very important for getting the correct design on your part. There are many different stencil kits available but it is definitely a bonus to have a couple to start with. Creating visually appealing designs freehand is going to take some practice so having a template to follow when getting started will be helpful.
Engraving vs cutting
Engraving pens are just that, engravers. They generally are not meant for cutting. If you are looking for a tool that is capable of doing more than simply scratching the surface of a part, then you will want to look into something with more power like the various Dremels or other higher power rotary tools.
Related articles
For more information check out these related articles: