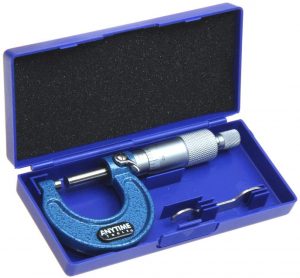
Micrometers and calipers are both precision measuring tools.
The difference between these tools lies in their accuracy and the types of measurements they can take.
Check out the table below for the main differences between the two tools and then keep on reading to gain a better understanding of what those differences mean when it comes time to use them.
Micrometers | Calipers | |
Accuracy | 0.0001″ | 0.001″ |
Measuring Range | 1″ increments | 0-6″ |
Types of Measurements | Outside Measurements | Inside, Outside & Depth Measurements |
Micrometer and caliper comparisons
Accuracy
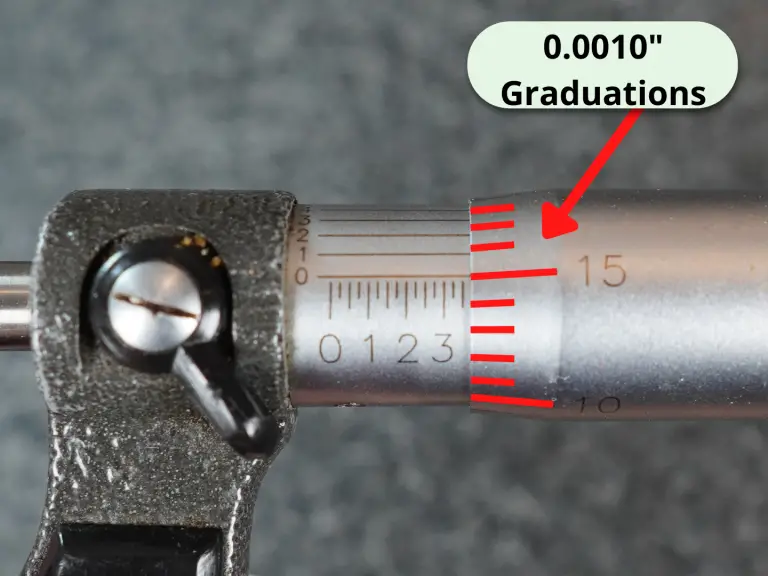
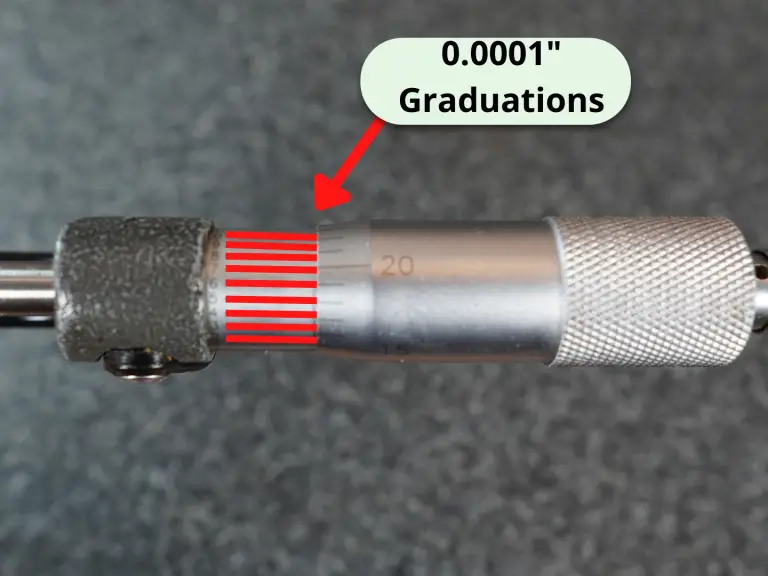
Micrometers are more accurate.
A typical micrometer is accurate to 0.0001″ and a caliper is only accurate to 0.001″.
This makes a micrometer 10x more accurate than a caliper.
Just keep in mind that you can buy cheap versions of both tools that have worse accuracy. Also, if you were to buy a larger versions of these tools they will often have lower accuracy.
A 17-18″ micrometer might only be accurate to +/- 0.0002″ and a 0-24″ caliper may only be accurate to +/- 0.002″.
To sum it up, realize that there is some variation in accuracy but in general you will find that micrometers are 10x more accurate than calipers.
Measuring range

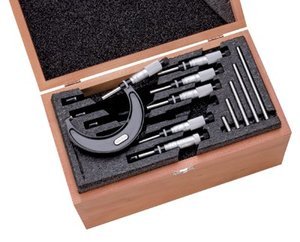
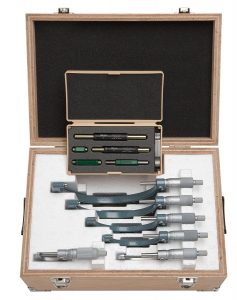
Micrometers come with 1″ measuring ranges. 0-1″, 1-2″, 2-3″ and so on.
The most common measuring calipers measure over a 0-6″ range. Larger varieties can be also be found with 0-12″ and 0-24″ measuring ranges. There are some different ranges available such as 0-4″ and 0-8″ also but they are much less common.
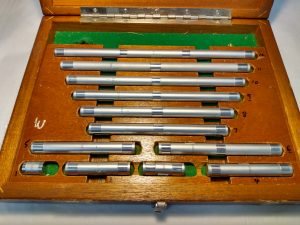
This difference in measuring ranges means that you would need a set of micrometers to measure over the same measuring range a single caliper is capable of.
Calipers have larger measuring ranges but they are less accurate.
Types of measurements they are capable of
Most calipers will measure inside, outside and depth measurements.


Micrometers are capable of only performing one type of measurement.
The most common type of micrometer is an outside micrometer, usually referred to as simply micrometers or sometimes mics.

Inside micrometers and depth micrometers are also available to take internal and depth measurements.


Calipers are capable of taking a much larger variety of measurements.
Ease of use
To maintain the added accuracy that a micrometer has requires taking more care when using them.
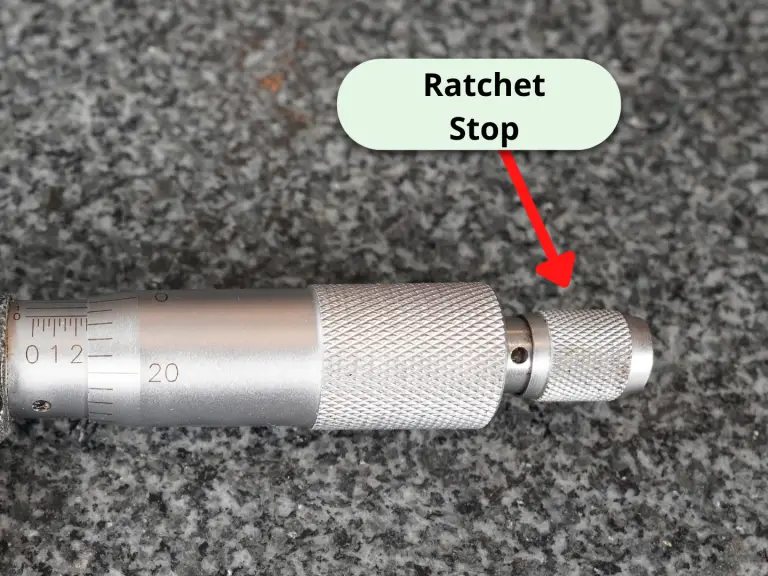
Something as small as the amount of force you use to close the micrometer can change your measurement. Many micrometers will have a ratchet or friction stops that help alleviate this problem.
When you are working down to a tenth (machinist lingo for 0.0001″), even temperature comes into play. Metals expand and contract with changes in temperature. To protect against this, most micrometers have plastic pieces that can be used to help insulate your from the tool.
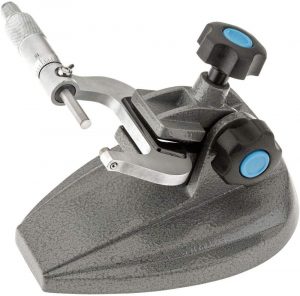
A good micrometer stand can help keep you accurate as well.
The same factors affect the accuracy of a caliper but the effects aren’t as noticeable because they aren’t as accurate.
Speed
Calipers are quicker to use than micrometers. The jaws can open and close in a split second.
Micrometers need to spin the thimble around 40 times to cover an inch of travel.
Cost comparison
A micrometer and a set of calipers have similar price points. Take for example a 0-1″ micrometer from Mitutoyo and a 0-6″ set of calipers from Mitutoyo.
The difference would be that to cover the same measuring range of a set of calipers, you would need a 0-6″ set of micrometers. A good set of micrometers is going to cost quite a bit more than your typical 0-6″ caliper.
More info about micrometers and calipers
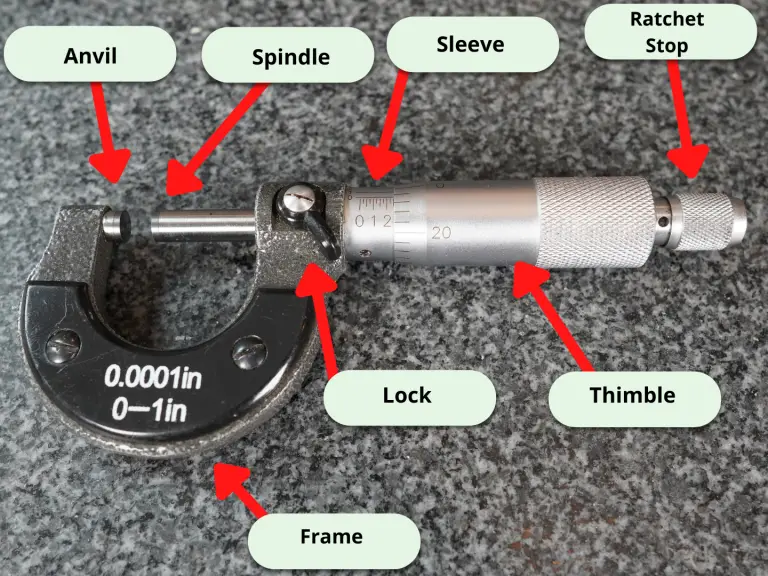
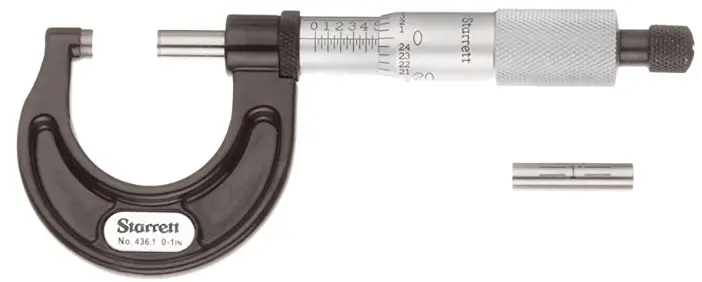
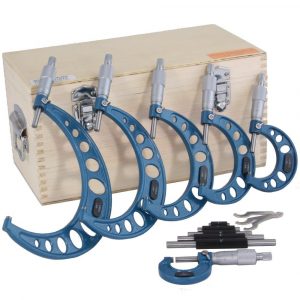
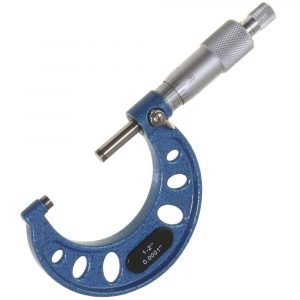
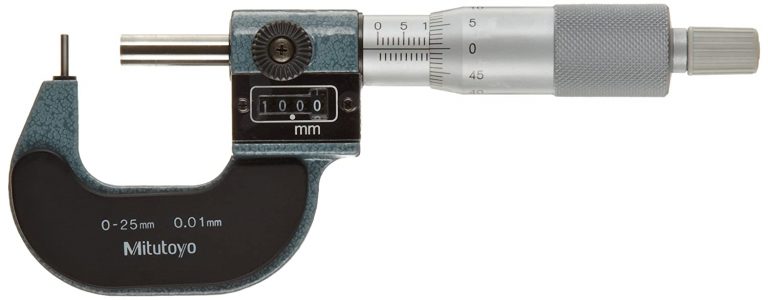
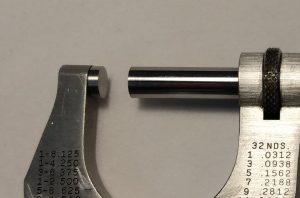
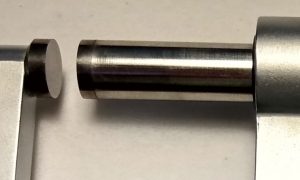
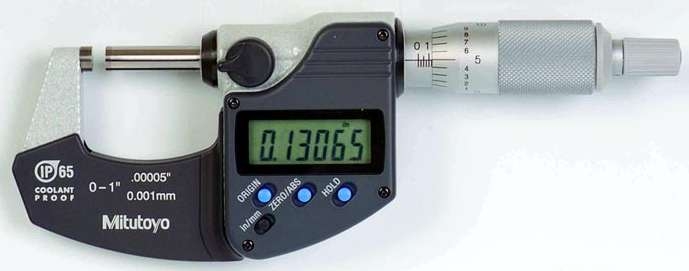
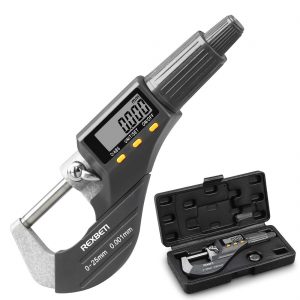
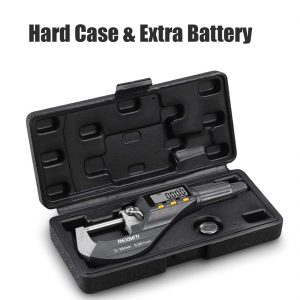
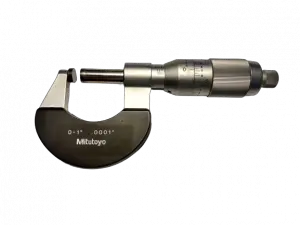
Parts of a micrometer

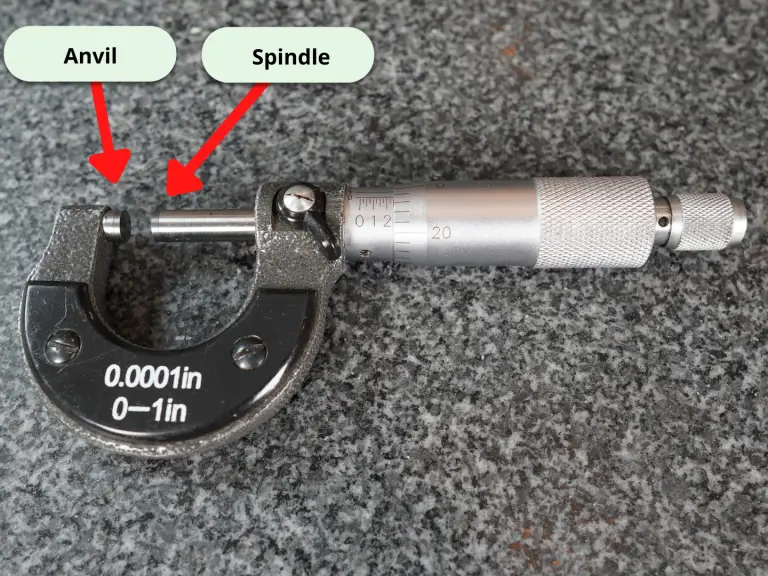
The part being measured will be placed between the anvil and spindle of the micrometer. The spindle is adjusted in and out by turning the thimble clockwise or counterclockwise.
Depending on the micrometer being used, the lock nut, lock ring or lock lever can be used to hold the micrometer at a specific size. Some tools will not have any locking feature.
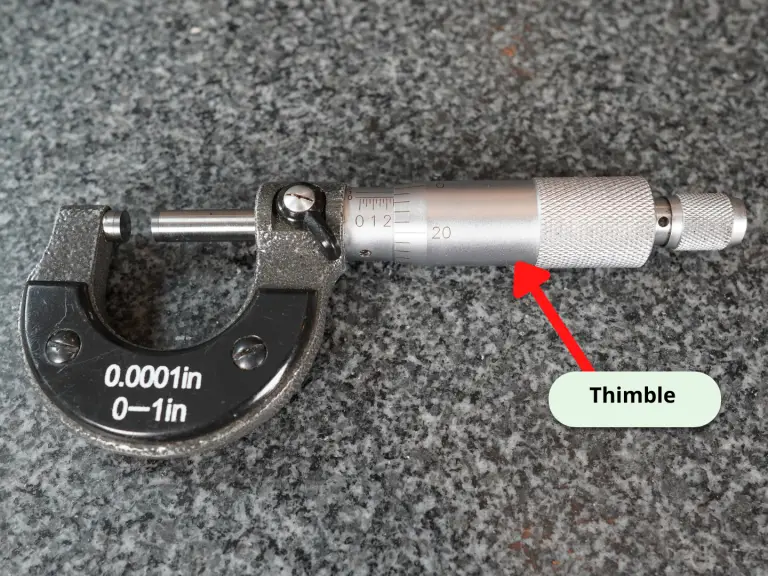
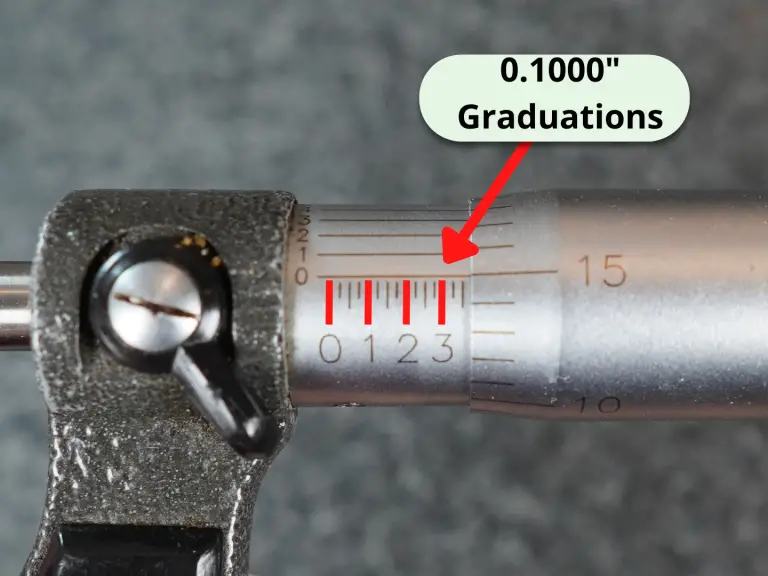
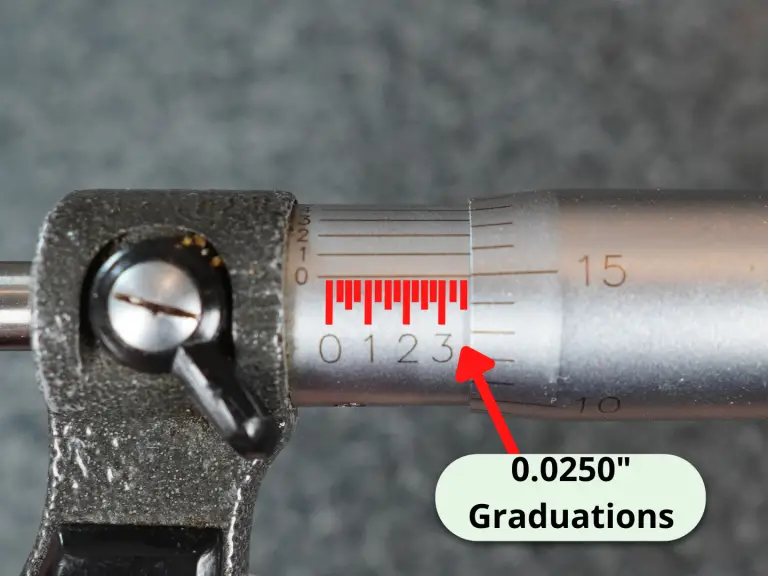
Measurements are read using the scales on the sleeve and thimble.
The frame of the micrometer can vary across brands and types of micrometers. Some are made specifically to have smaller frames for different measuring applications.
Many micrometers also have a ratchet stop or friction stop that limits the amount of force applied to the thimble. This allows more consistent measurements.
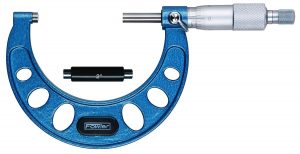
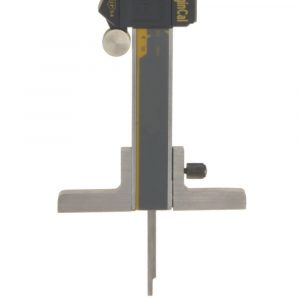
Parts of a caliper
The jaws for external measurements are used to measure features such as length, width and thickness.
The jaws for internal measurement are used for measuring features such as hole sizes and slot or groove widths.
The rod for depth measurements is used for measuring depths of holes, counterbores and step heights.
The scale and dial indicator face are used together to obtain measurement readings.
The slide of the caliper which consists of the moveable jaws along with the dial indicator face are slid along the beam.
The lock screw can be used to hold the caliper at a specific size for repetitive measurements.
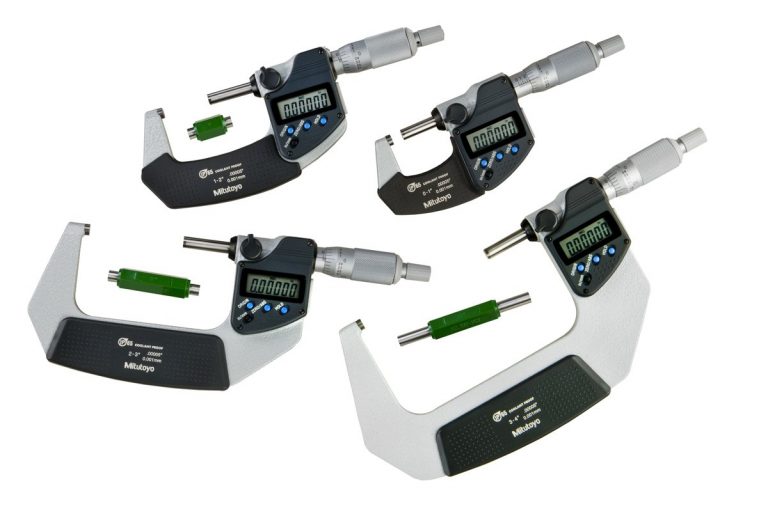
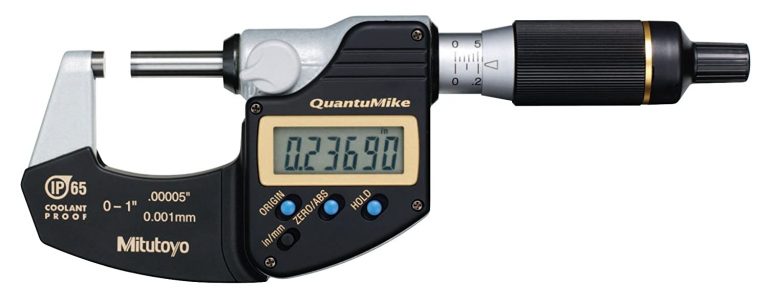
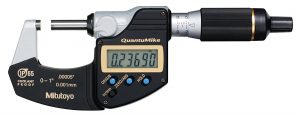
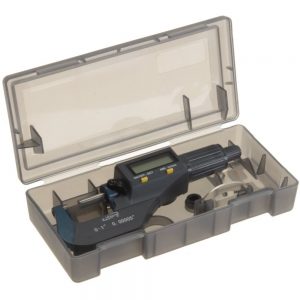
Digital vs analog micrometers
Digital micrometers are great for the speed at which measurements can be read. Their display means very little training for the operator.
Another benefit of a digital micrometer is how quickly measurement values can be converted between inch and metric readings. A simple button press can save time and do the conversion for you.


The downfall is that they tend to be quite a bit more expensive than a standard analog micrometer and they are more susceptible to contaminants such as water and coolant. Some models are offered with resistance or protection from different contaminants.
In recent years, prices have dropped for digital micrometers making them more affordable.
Analog micrometers tend to be a very dependable tool and many have been in use for generations. This also means that there are many used options on the market for analog micrometers.
If cost is your primary concern, I recommend going with an analog micrometer. If ease of use and operation is important then go with a digital micrometer.
Digital vs dial vs vernier calipers

Vernier calipers are the most resilient type of calipers. They will be the least affected by things such as dirt and water or coolant. Unfortunately they are the most difficult to take measurements with. Learning to read the scales takes some practice.
Dial calipers are a good middle ground with measurements that are relatively easy to take with the dial indicator face. They are reasonably resistant to contamination though they should still be handled with care.

Digital calipers are by far the easiest to use. The LCD display takes any guesswork out of reading your measurement. They are also the most susceptible to damage from things such as dirt and coolant.
Unless they are being used in the harshest environment, I recommend getting digital calipers. Digital calipers can be purchased with ingress protection if needed.
Summary
While they are both precision measuring tools, there are some key differences between micrometers and calipers.
Micrometers are more specialized and have a smaller measuring range. As a result they are generally more accurate and often capable of measurements to .0001″.
Calipers are more versatile. They have a much larger measuring range. To achieve this they sacrifice accuracy and most often take measurements to an accuracy of .001″.
As you can see they both have their strengths and weaknesses but in the end they are two of the most important precision measuring tools you can have in your toolbox.
Related Articles
For more information see these related articles: