Micrometers come in many shapes and sizes.
Our comprehensive list covers all of the most common and many uncommon micrometers found in machine shops, garages and workshops around the world.
Read on to see how many you’ve used or how many you even knew existed.
Table of Contents
ToggleThe most common types of micrometers
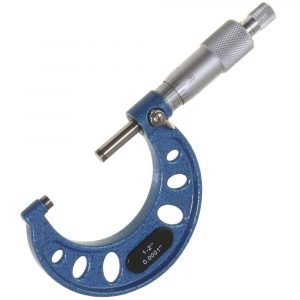
Outside micrometers
Otherwise known simply as mics. Your standard everyday micrometer. Used for measuring outside diameters, lengths, widths, thickness, etc. Commonly available in 1” measuring ranges.
The typical accuracy of an outside micrometer is 0.0001”.
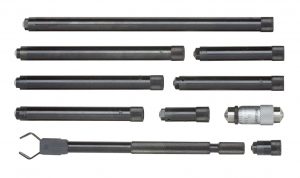
Inside micrometers
Used for checking internal widths, diameters, and bores. The typical accuracy of an inside micrometer is 0.001”.
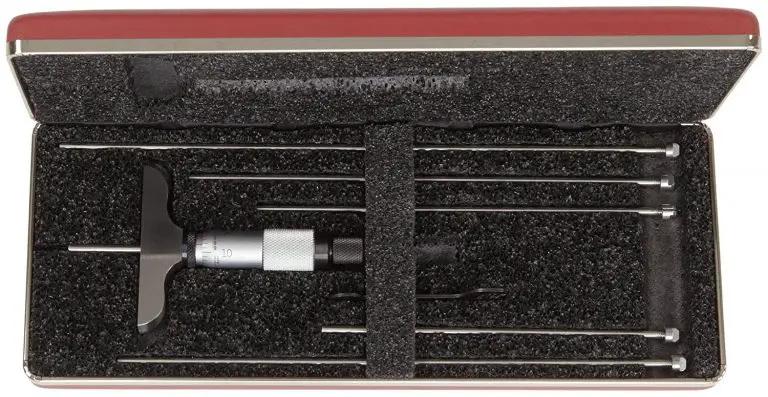
Depth micrometers
Used for measuring the depth of slots and holes as well as the location of various steps. They tend to be less accurate than a standard micrometer. Most will have an accuracy of +/- 0.001”.
Styles of micrometers
Standard vernier micrometer
The old standby. This type of micrometer has been produced for decades and I’m sure will continue to be around for many more years.
They feature a rotating thimble that has a vernier scale wrapped around it. This scale is matched up with the scale on the sleeve to obtain your measurement.
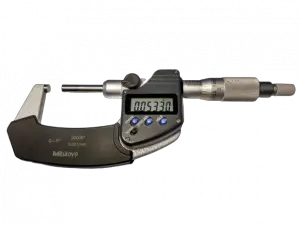
Digital micrometer
Many of the micrometers listed are available as a digital version as well. Do not expect anything different between a digital and standard micrometer other than the display.
They have the same accuracy. Digital vs non digital is just a matter of preference.
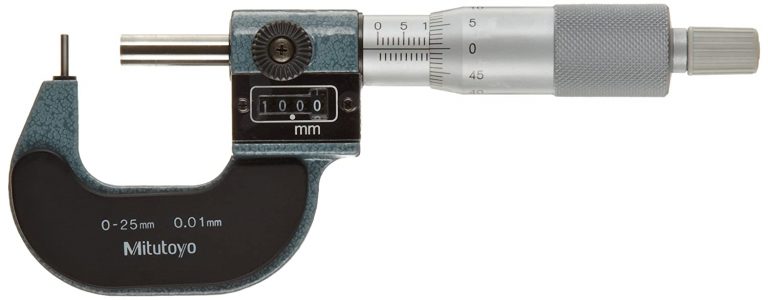
Mechanical counter/digital mics
A less popular option, some of the micrometers listed can be purchased as a mechanical counter version. Some of the manufacturers call them digital, but the term is misleading.
Personally, I have never found them superior to other mics. I would avoid them. You can expect their accuracy to be in line with a standard micrometer of the same type.
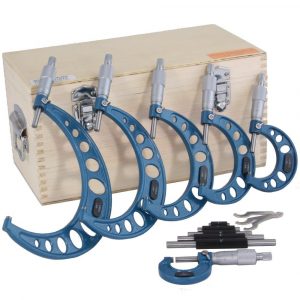
Micrometer sets
Because micrometers have a smaller measuring range when compared to some other precision measuring tools such as calipers, they are often purchased as a set. Micrometer sets are commonly available in 0-3”, 0-6” and 0-12” varieties with many other less common sets being available as well.
Micrometers with different spindles and/or anvils
Carbide tipped anvil and spindles
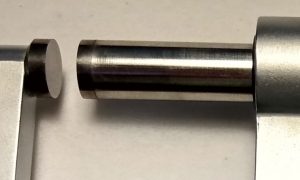
Carbide tips provide additional wear resistance for a micrometer, especially one that may see extra heavy usage. While they can be useful in this regard, the carbide tips are more brittle and have been known to chip.
For most people, your standard stainless-steel spindle and anvil will be good enough but both types work well.
Non-rotating micrometers
These micrometers work well for a number of applications. The spindle on this type of micrometer doesn’t spin to increase the accuracy of the measurement. It also has the added benefit of being less likely to damage surfaces where surface finish is extremely important.
Micrometers with rounded anvils
These micrometers allow you to measure features that are not flat such as the wall thickness from the edge of a hole another surface.
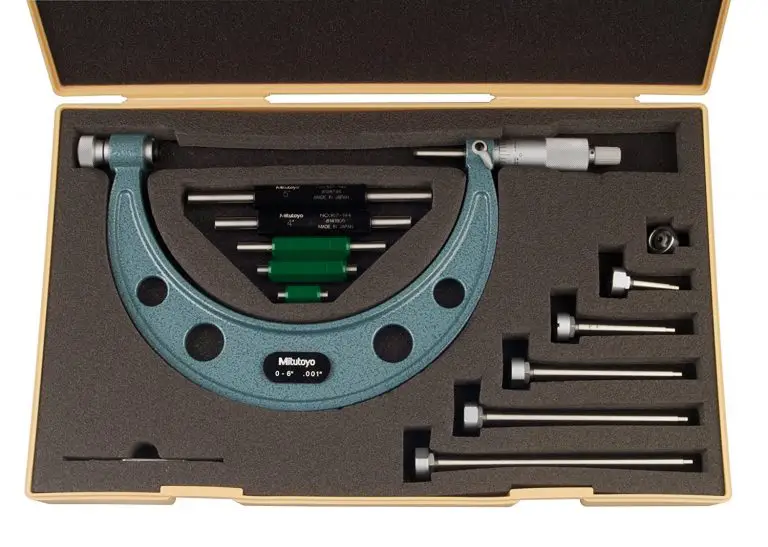
Micrometers with interchangeable anvils
Often seen on large micrometers. Interchangeable anvils usually allow a single micrometer to measure over a 6” range in 1” increments.
Imagine a 12” micrometer that can swap anvils to measure any 1” range up to 18” and you will get the idea.
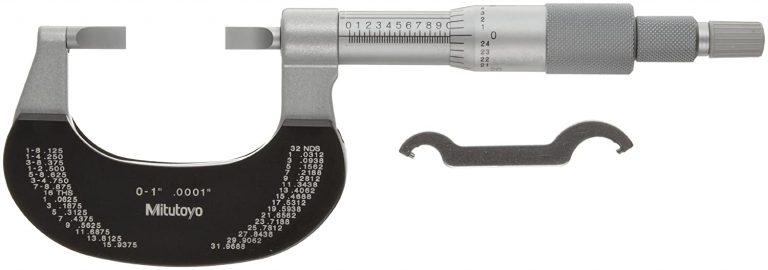
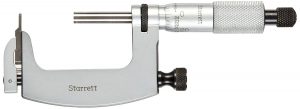
Blade micrometer
Blade micrometers are used for measuring narrow features such as grooves, slots and keyways. The spindle of a blade micrometer won’t rotate to allow accurate alignment and measurement of your part.
V anvil micrometer
These micrometers are used to check for an out of round condition, sometimes called lobing. They are often used in the centerless grinding industry.
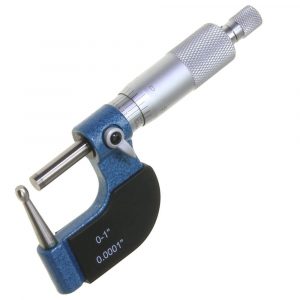
Tube micrometer
Used almost exclusively for measuring the wall thickness of round objects such as…you’re never going to guess.
Alright, I’ll tell you. They measure tubes! Surprising, I know!
The anvil on these micrometers is more rounded than what you would see on a micrometer with rounded anvils
Pitch-diameter micrometer
These micrometers have a special anvil and spindle to allow them to measure the opposite sides of a thread. The anvil has a double v shape while the spindle is pointed.
They have an overall measuring range such as 0-1” or 1-2” like a standard micrometer but also have a range of threads per inch or mm that they are capable of measuring.
Multi-anvil or universal micrometers
These micrometers allow you to switch the anvil so that the tool can take multiple types of measurements. One multi-anvil mic can take the place of an outside, tube and rounded anvil micrometer all in one.
Groove micrometers
Groove micrometers are used for taking measurements of grooves and other small features. Their low profile allows them to be used in tight spaces.
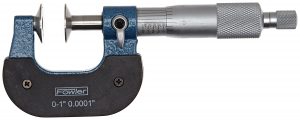
Disc micrometers
This type of micrometer is frequently used for measuring thin sections of a part such as a sheet of material or the ribs or fins on a component. Often, they come with non-rotating spindles to keep the thin material from being twisted and giving an incorrect measurement.
Micrometers with special frames
Micrometers with insulated frames
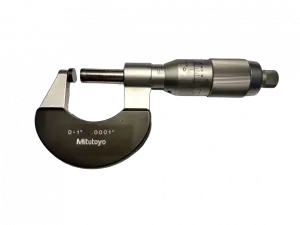
Heat can cause metal or other materials to expand. When this happens, your part can appear to measure larger than it actually is. The same principle affects your measuring tool as well. This is why many micrometers will have an insulated grip to keep you from transferring your body heat to the micrometer and affecting the measurements.
Bench micrometer
Bench micrometers work like a combination micrometer and micrometer stand. They are used when the part to be measured can be brought to the workbench and will provide all the same benefits of using a good quality micrometer stand.
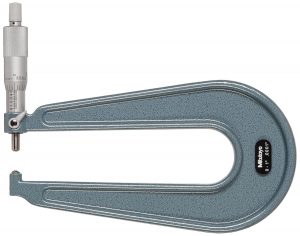
Sheet metal micrometers
Sheet metal mics will allow you to take a measurement away from the edge of the material. Useful for working with, well sheet metal duh but also other materials where you want to get closer to the center of the part and need the clearance to be able to do it.
Hub micrometer
Hub micrometers are used when a shallow frame is needed such as when you need to insert the tool into a hole to take a measurement.
Micrometer head
Micrometer heads don’t have a body or frame. They are used for all sorts of applications where an adjustment needs to be made with a great deal of accuracy.
Some common uses are for in fixtures as well as machine setup.
Special application micrometers
Crankshaft micrometer
A specialized set of micrometers that have a larger than normal measuring range that allows them to take measurements you might need when working with crankshafts.
This range is typically from 1 ½” to 3 ½”.
Disc brake micrometer
Another special application micrometer. They are used for measuring the depth of the grooves in your brake rotors. Like the sheet metal micrometers, they have a frame that allows measurements farther away from the edge of the brake rotor.
Paper gage micrometer
Used in the paper and printing industries, these micrometers feature wider spindle and anvils that help keep them from compressing the material being measured to make sure the readings are accurate.
Micrometer accessories
Micrometer balls
This attachment allows a standard outside micrometer to function like a tube or rounded anvil mic. The attachments do reduce the overall measuring range of your tool so keep that in mind.
Additionally, you will need to subtract the size of the micrometer balls into consideration when calculating your measurement.
Micrometer stands
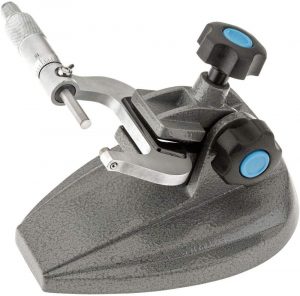
Micrometer stands can give you a third hand when using your micrometer. While they work well to give you more freedom for maneuvering your part, they also help to reduce any heat transfer to the micrometer which could affect your measurement.
Related articles
For more information check out these related articles:
