Best Woods For CNC Routing

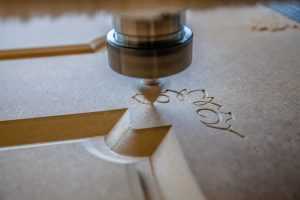
cnc router engraving design

Let’s say you have some extra time on your hands, and you decide to build your own computer. Countless people do this every year, so surely it can’t be too difficult to find the necessary materials, right?

Then you realize you’re going to need some basic electrical wiring. Would you go search through a pile of old electronics and rip out whatever you can find?

Of course not.

You’re going to go find something that is meant for your build.

The same goes for CNC routing. You can’t (or at least shouldn’t) use just any old piece of wood you see lying around.

To build a nice project, you’ll need quality material, and we are going to help you figure out which ones are right for your use. Picking the right wood is especially important when you are making things to sell with your CNC

We do our best to run through as many different types of wood for CNC routing that we could come up with, but if you just want the short and sweet version to help you pick a wood to work with check out our list of the best woods below.

Category

Wood Type

Easiest wood for CNC routing (best for beginners)

Cherry

Best wood for CNC carving

Walnut

Best wood for CNC sign making

Cypress

Best cheap wood for CNC routing

Poplar

Best plywood for CNC routing

Birch

Below is a lengthy list of various types of woods that you can use for CNC woodworking.

While the list may not include absolutely every type of wood you might want to use, it does hit the main ones

The cost of the different woods will vary by region and availability, but we have tried our best to assign a relative cost score to them.

Cost rating system

Keep it simple right? We used a scale of 1-5 dollar signs

$ = cheaper woods

$$$$$ = very expensive woods

Alder

Cost: $

Alder wood is generally light and soft. Its structure is even with straight fibers. Highly pliant, alder wood is one of the preferred woods for furniture makers the world over.

Alder is pretty good for carving, though it can be a bit stringy at times.

Ash

Cost: $

Ash wood is strong, durable and generally light in color. It is coarse, but the grain is fairly straight. As a result of its strength and durability, ash wood has an array of uses but is commonly used in the making of tools, furniture and frames.

For routing, you might find moderate resistance with ash because it’s a stronger wood. Ash can tend to wear your cutters quicker than other, softer woods. If you’re going to use ash, make sure your cutters are sharp before you start.

Balsa

Cost: $

Balsa is the lightest and softest timber used commercially. Though it’s lightweight, balsa is also fairly coarse. It possesses an unusually high degree of buoyancy, and the wood is adaptable to a great number of special uses.

If you’re using softer balsa, it can be prone to tearing along the grain as the cutter goes past. It can also be hard to get a nicely finished edge with balsa.

Beech

Cost: $

Beech wood is known for its fine-textured straight and attractive grain, pliability, strength, and finishing ease. However, Beech wood has a fairly high shrinkage rate, which is why most beech wood ends up as paper.

When routing beech, you’ll likely want to have the router moving at a lower speed to avoid burning.

Birch
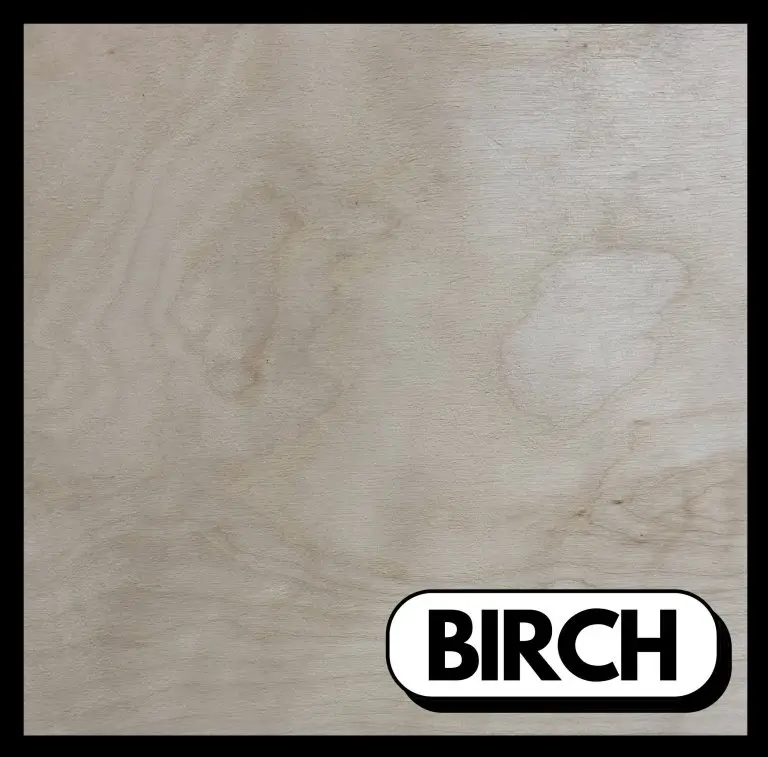
birch wood grain

Cost: $

Birch is a stiff wood with light color and wavy grain.

When working with birch, you should go slow and take shallow passes. If routing in one direction causes a lot of splintering, turn the board around and go in the opposite direction. This hits the grain from a different direction. The splintering is caused by the bit digging into the grain. Going the other way stops that.

Birch plywood

Cost: $

For birch plywood, some good advice is to cut the chip load down to about half of what you would normally do.

You should also have your spindle speed as high as you can get it without overheating the cutting tool. For engraving, you will find that it is best to outline the toolpath first.

Cedar
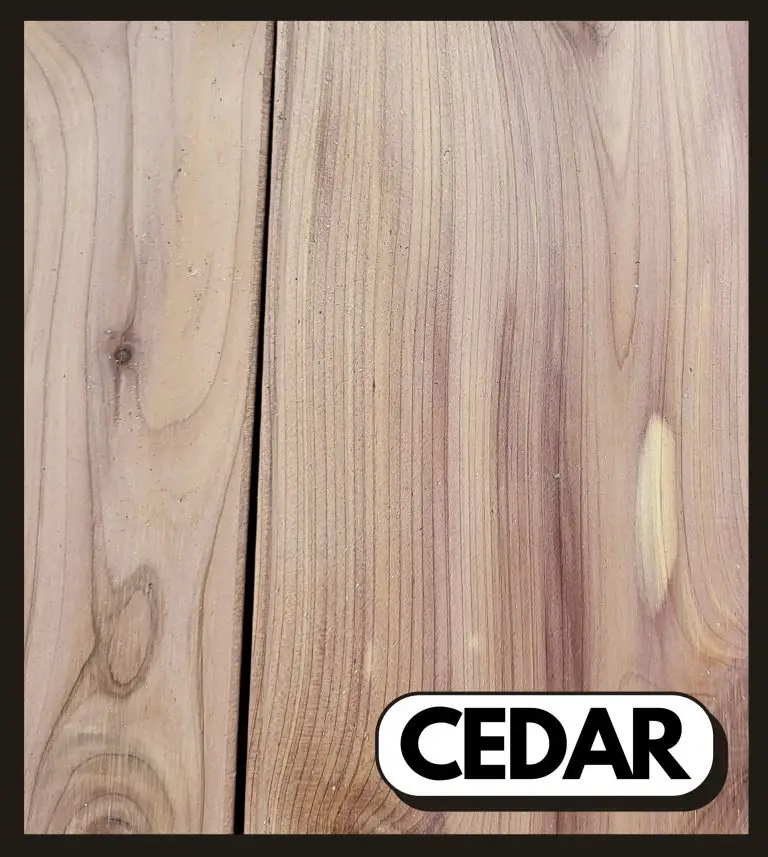
cedar wood grain

Cost: $$

Cedar has a nice smell and good color, but the knots in the wood can make it a bit difficult to work with.

Also, because it’s a softer wood, you need to be careful with tear outs – this is a common problem with cedar. To avoid the tear-out issue, try doing multiple passes.

There are some who swear by soaking and freezing cedar before working with it as a way to get a better finished product.

Cherry

Cost: $$$$

Cherry wood is hard, durable, resistant to rot and decay, and has a pretty good ability to withstand shock.

It’s also easy to carve, cut, and mold.

Cherry is interesting because it is a relatively soft hardwood.

In other words, cherry wood is a fantastic option for CNC wood routing, and you’ll find that it is popular among hobbyists and professionals alike. Cherry has a reputation for being easy to work with due to its versatility.

Cyprus

Cost: $

Cypress wood is extremely soft, and a lot of woodworkers will tell you that this stuff carves like butter.

Cypress is a really great option if you’re looking at making signs. Cypress also holds up extremely well outdoors. It is a decay-resistant wood.

One downside to cypress would be that it can be a knotty wood, similar to cedar.

In other words, cherry wood is a fantastic option for CNC wood routing, and you’ll find that it is popular among hobbyists and professionals alike. Cherry has a reputation for being easy to work with due to its versatility.

Elm

Cost: $$$

Elm wood has fairly open pores, which can lead to a lot of tear-outs if you’re not careful.

Some people also find Elm to be a bit stringy. However, elm is also known for being extremely tough, so if you can avoid tear-outs and your project isn’t too stringy, you will have your elm wood project for a long time to come.

Elm is a little pricier now than it used to be because “Dutch Elm Disease” wiped out a good portion of elms around the world.

Fir

Cost: $$

Fir has a nice consistent pattern and is pretty easy to work with.

Fir can have some issues with tear-outs, but most people can easily avoid these through climb cuts. Though Fir can splinter a bit, it isn’t known for having knots, which makes it easier to work with.

Mahogany

Cost: $$$$$

Many woodworkers the world over will consider genuine mahogany to be the best wood on the market.

It’s durable, stable, and looks beautiful. It’s a fairly hardwood but is easy to work with. Its mostly straight, open grains mean the wood rarely tears out.

When working with mahogany, you should go a bit slower in terms of your feeding, and don’t overload your carvers.

Maple
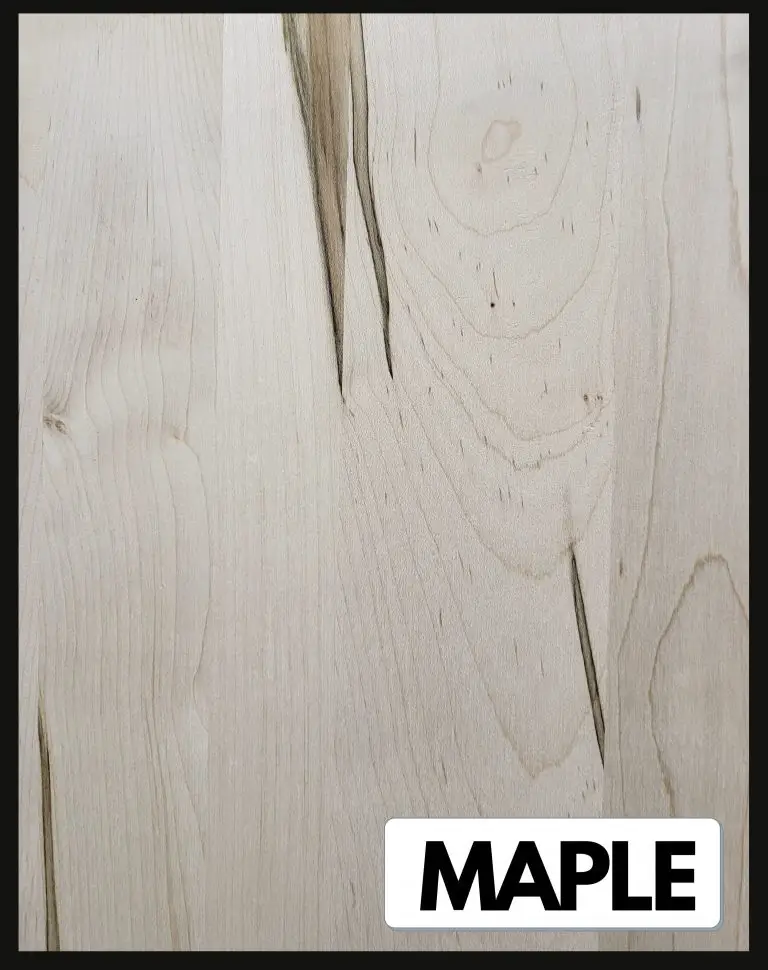
maple wood grain

Cost: $$$$$

If you don’t have a ton of experience, maple can be a little bit difficult to work with.

The wood is extremely hard, so you’ll need very sharp cutters, though the maple will dull them while cutting.

You should also cut at a lower speed to prevent any burning. Though maple might be hard to work with, you’ll love the final product because it’s a beautiful wood.

MDF

Cost: $

Medium-density fiberboard is super cheap and versatile. MDF is basically sawdust and glue, so be prepared for a sandstorm when you’re working with it.

Still, people find MDF super easy to work with as it carves and cuts extremely easily.

Oak
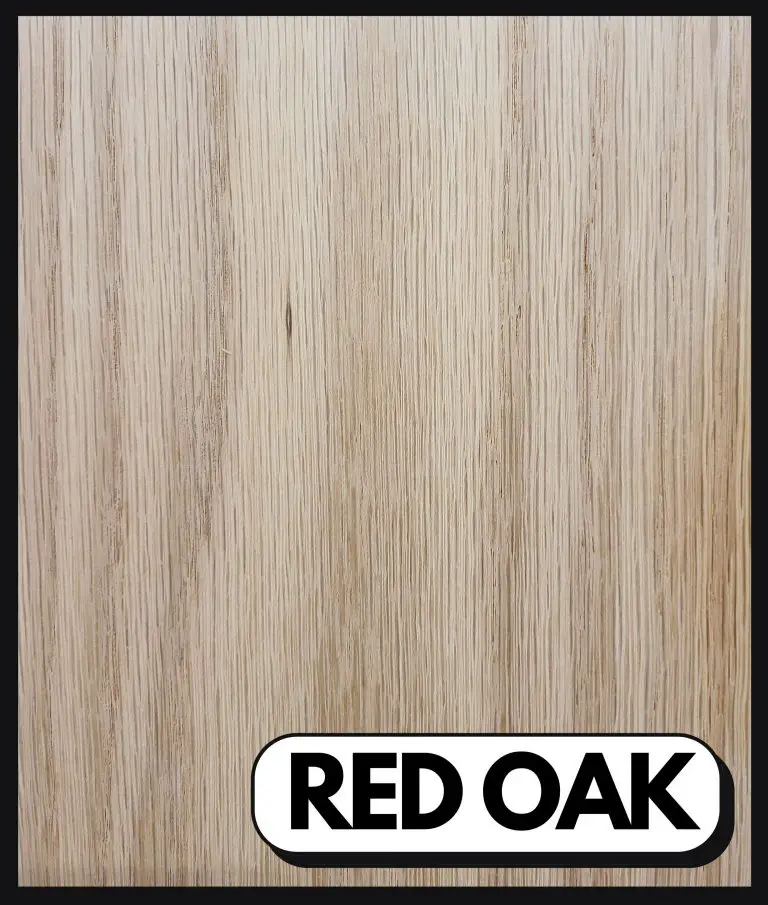
red oak wood grain

Cost: $$$$

Oak is a heavy, hard wood that rarely breaks. Since it’s so hard, you want to be a little careful when it comes to cutting.

Make smaller passes, and take multiple passes, so you don’t break any of your bits. Also, watch out for any burning.

Paduak

Cost: $$$

You’ll really like the way padauk carves but be sure to bring a sharp bit. The reason people like to work with Padauk is that it has nice, straight grains.

One thing to watch out for when working with Padauk is the dust. When you start cutting this wood, you’ll get a lot of dust, so you might find a dust boot helpful.

Pine
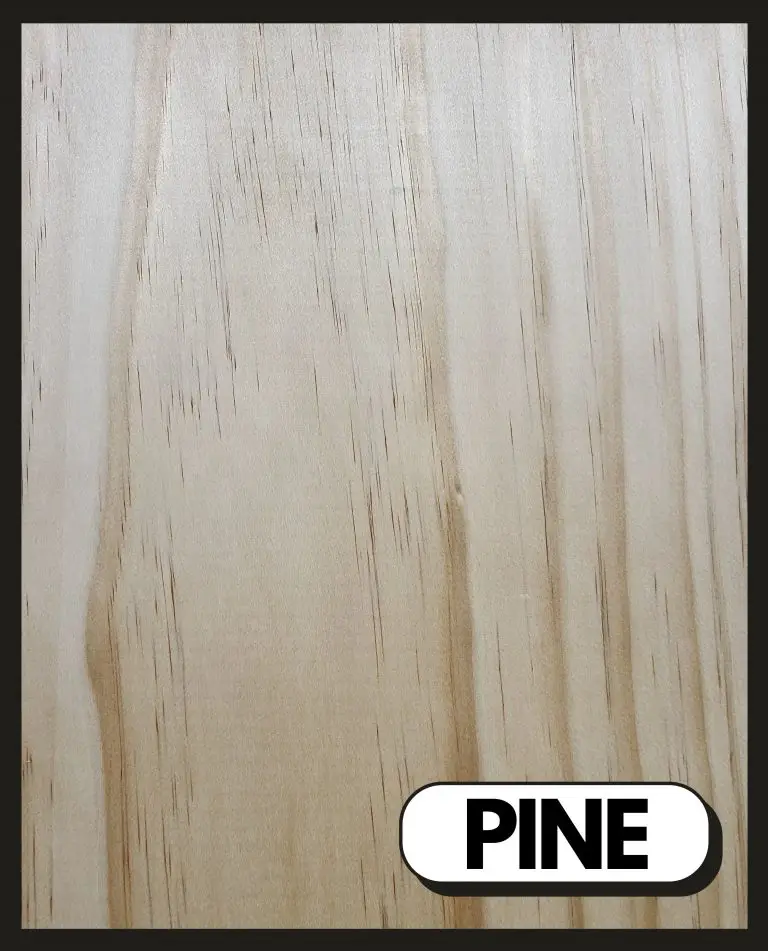
pine wood grain

Cost: $

Pine generally machines well, but sometimes certain cuts can get a little bit gummy on you.

Another thing about pine is that it’s a fuzzy wood, so it can be helpful to sand the wood down both before and after you work with it.

Making multiple passes can also reduce some of the fuzz. Pine may not be your first choice to work with, but you should learn how to machine pine because it’s reasonably cheap and available everywhere.

Pine plywood

Cost: $

Like with regular pine, again get a lot of fuzz. The benefit here, though, is that this stuff is so easy to find and it’s cheap.

Be sure not to cut too deep and take multiple passes when working with pine plywood. Patience will be key if you want the project to turn out well.

Poplar

poplar wood grain

Cost: $

Similar to pine, Poplar is widely available, cheap, and leaves behind a lot of fuzz.

So, like with Pine, be sure to sand the Poplar down well. You will also want to have sharp bits and a slower speeds and feeds to avoid any tearing.

Poplar will take paint really well, so if you’re working on a project that you’ll ultimately want to paint poplar might be your choice of wood.

Red gum

Cost: $$$

Due to its softness and low density, people generally find red gum easy to work with.

However, red gum does have interlocked fibers, so be careful to avoid tear-outs. Another criticism of red gum is that it can warp a lot when drying out.

Redwood

Cost: $$$

While Redwood is light but strong, it does splinter fairly easily. Make sure you’re using shallow cuts to avoid tear-outs.

If you’re just looking for a carving project, redwood will be fantastic due to its softness.

Spruce

Cost: $

Spruce is not really known for being great wood to route with. It splinters easily and can have hidden sap pockets that can’t be cut through and will make your bit super sticky.

With short fibers and many knots, you may find it difficult to work with spruce.

Walnut

Cost: $$$$

Walnut is a very popular wood when it comes to routing. It cuts well. If you have a sharp bit, then cutting through walnut is like passing a hot knife through butter.

Another great feature of walnut is that it is not really known to burn while routing. However, Walnut dust can be highly irritating, so be sure to protect your eyes. A dust collection system of some sort would be advised.

Western red cedar

Cost: $$$

Western red cedar has a really wide grain which can be helpful for routing. That said, this wood can easily tear out if you’re not careful. This red cedar can be a better option than regular cedar because it has fewer knots.

Another benefit of red cedar is that it is good to use for outdoor projects.

Yew

Cost: $$$$

Yew can be a tough wood to work with. For one, when yew trees grow, they can contort in a way to that creates a lot of cross-fibers, which can lead to tear-outs.

Additionally, Yew wood can come with a whole lot of knots that you’ll have to work around.

Things to consider when choosing your wood for CNC routing

Clean up

Some woods that create more fuzz – such as pine and poplar – are going to require additional sanding. You can’t just pull these woods off the machine and expect a finished product.

Other woods may not have fuzz, but the cutting action will create rough edges that have to be sanded out. Keep this in mind when creating a project timeline.

Additionally, some of these woods are heavy on the dust. All of the woods listed will create some dust, but some woods are worse than others. You’ll definitely need a shop vac or other form of dust collection in use, and it could be very helpful to have a dust boot.

Knots

A knot is a portion of a branch or limb that has become incorporated in the trunk of a tree. Knots can change the direction of the wood, which make the wood vulnerable to tear-outs.

Your machining parameters should be reduced when working with a knotted portion of the workpiece to avoid shock loading.

Before you can machine them, use 5-minute epoxy to lock loose and loosening knots into place and fill any gaps and voids. When the epoxy cures, you can saw, joint, or plane the wood without fear of knocking the knot out, or worse, sending it flying across the shop or hurting you or your machine.

Price

Depending on what wood you use, your project can skyrocket up in price.

The more exotic woods you use, the more expensive they will be.

Redwood, for example, only grows in a very specific location and environment, so that makes it rarer. Pine, on the other hand, is easily available so it’s cheap.

Expensive woods can be worth it if you’re making a nice project, but don’t spend a bunch of money on wood if you’re not sure how the project will turn out. It is best to practice with the cheap stuff until you get things more figured out.

When you do start moving up to more expensive woods, run some test cuts or small test projects to try out your setup before committing to a large project.

Where to buy wood for CNC routing

You can go to your local hardware store to check out their wood selection. Some stores will have scrap or damaged pcs that can be had for free or at a large discount.

This can be a good way to get material for a small project or for testing out cuts on different types of wood.

You can also find a lumber mill near you and see if they’ll sell you any wood. Oftentimes, lumber mills will have excess wood that they can’t use that they will sell you for cheap.
Essential Tools Every Machinist Should Own

Every trade has its own toolset. Mechanics, carpenters, and electricians all have special tools associated with the profession. Being a machinist is no different.

There are many tools that a machinist uses in their everyday work. Below is a list of the most important tools for a machinist to own along with some tips to consider.

My quality control experience probably makes me biased, but the most important tools you can have are pieces of inspection equipment. The logo says it all, “If you can’t check it, you can’t make it”

Caliper

mitutoyo digital caliper
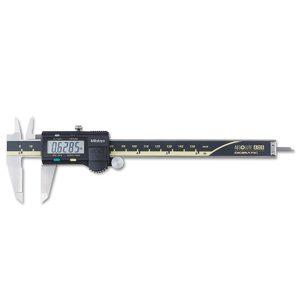
Digital caliper

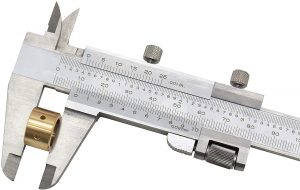
Calipers come in many forms. The most common types are vernier calipers, dial calipers and digital calipers.

For a long time, the best choice was dial or vernier. This was largely because digital calipers were prohibitively expensive. Times have changed.

Nowadays, a quality digital caliper can be had for as low as $25! Even the top quality, super dependable digital calipers aren’t that expensive anymore.

I always recommend that anyone thinking about a caliper at least considers a digital caliper. The only real downside is batteries die.

The truth is they die, but not that often. The budget calipers have batteries that last months. The top shelf calipers from manufacturers such as Mitutoyo have batteries that last years.

Enough about digital calipers already.

dial caliper
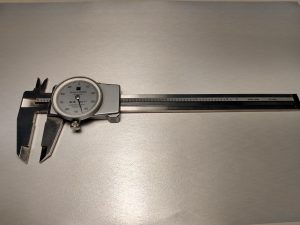
Dial caliper

Dial calipers are nice option too because they don’t have any electronics to die. What they do have is moving parts. Keep them clean though and you shouldn’t have any problems.

In fact, keep all your tools and gauges clean! This is important.

Dial calipers are fairly easy to read, though in my opinion still slower. I doubt fractions of a second matter but personally I prefer the instant measurement of a digital caliper.

The best comparison of the difference taking a measurement with a dial caliper to a digital caliper is a normal analog clock to a digital clock. There is very little time in the calculation of the value, but it is there.

vernier caliper measuring thickness of brass part
Vernier caliper

The last type of calipers are vernier calipers. Don’t get mad at me (OK, yell at me in the comments if you must) but I don’t like them. They take far too long to read. Maybe it’s because I haven’t practiced with them enough, but I don’t see the benefit. I keep my tools clean and have never had an issue the moving parts of a dial caliper.  Never had an issue with a digital caliper either. With all the pros and cons and constant rush, rush, rush of your typical machine shop, I have always preferred digital options.

In the end it is all about personal preference. There is nothing wrong with vernier, dial or digital calipers. If you pick a quality tool, then they will all take reliable measurements.

If you are just starting out, I recommend going with digital calipers to lessen the learning curve and speed up measurement reading, but keep in mind that this isn’t a huge jump in speed.

Outside micrometer

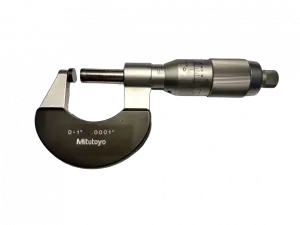
outside micrometer
Outside micrometer

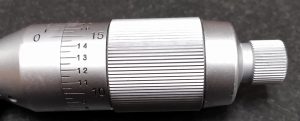
A 0-1” micrometer is hugely important for machining. Calipers may get more use but it is only due to their versatility. Calipers can measure inside and outside dimensions along with depth measurements. When we talk about micrometers, generally we are talking about outside micrometers.

Still…

A 0-1” micrometer is going to compete pretty fiercely with a 0-6” caliper in everyday use.

Normally, a 0-1” micrometer will measure 10x tighter tolerances at .0001” increments and a caliper will measure at .001” increments. For this reason, a good micrometer is vitally important to have.

Getting the best micrometer you can afford in the 0-1” measuring range is a good idea. If budget is a concern, going a little cheaper for larger sizes that won’t be used as often is wise. A decent 0-6” micrometer set from someone like Anytime Tools will perform almost as well as one from companies like Starrett or Mitutoyo at a fraction of the price.

Dial indicator

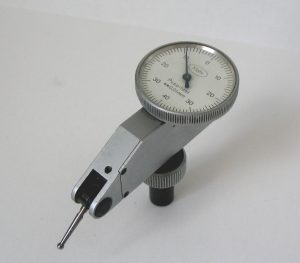
dial indicator
Dial test indicator

Dial indicators come in a few different forms including dial test indicators and drop indicators.

Dial test indicators work great for inspecting tight tolerances of specific features on a part. The downside is that they will often take more time to setup when compared to using a caliper or micrometer.

Dial test indicators can also be used to check the form of surfaces. Flatness, parallelism and total indicator runout (TIR) are just a few of the feature controls that can be measured.

Another application for dial test indicators is to align setups both in machining and inspection.

Dial test indicators are available in assorted accuracies such as .001”, .0005” and .0001” with even higher precision models available.

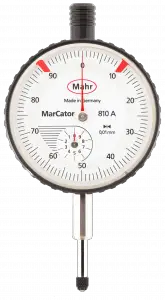
mahr drop indicator
Drop indicator

Drop indicators are generally used as part of a snap gauge or another type of inspection fixture. They are often used when a specific dimension(s) needs to be measured very accurately.

Parts being run to a tight thickness tolerance could be checked with the use of a drop indicator attached to a height stand. A setup such as this would allow the inspection of a large number of parts to a high degree of accuracy.

Surface plate

Surface plates are the accurate reference that so many measurements are taken from. They are essential for inspection work. This isn’t something you need to own but it is something you will want access to.

Surface plates come in a wide variety of sizes (usually 6” or 12” increments) along with multiple accuracy grades (AA, A & B). While smaller surface pates are reasonably priced, they get exponentially more expensive as the size increases.  

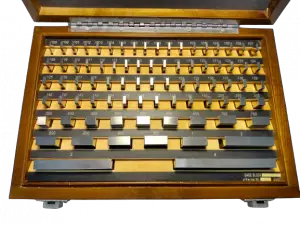
Gauge blocks

gauge block set
Gauge block set

Unless you are only doing very light machining work, you will want a good set of gauge blocks. If you are working in a machine shop, then you already know that you need calibrated gauge blocks to check your tools.

For home use, a gauge block set is good to have when working with indicators or tight tolerances (< 0.001”). In a shop atmosphere, the gauge blocks will be sent out at a set frequency to be calibrated by a calibration laboratory, but this is overkill for most hobbyist. Just follow one simple tip.

If you notice corrosion on your gauge blocks, think about replacing them. If kept clean and out of harm’s way, they should last a very long time.

The best way to protect your gauge blocks is to store them in a safe, dry place where the temperature is relatively stable. Extreme heat or cold will affect the size of the gauge blocks as the material (usually steel) expands and contracts due to temperature swings.

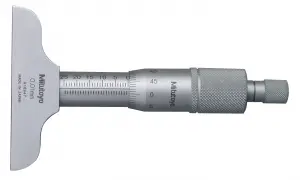
Depth micrometer

mitutoyo depth micrometer
Depth micrometer

Depth micrometers are great for measuring hole and slot depths along with various location or thickness checks. The downside to depth micrometers is that they are not as versatile as many other tools and are substantially more expensive.

Depth micrometers will not get as much use either which moves them down the list in importance. Because they don’t get used as much, a 0-3” set can be a good starting point for beginners or 0-6” set if you want to go all out. Don’t spring for a full 0-12” set unless you know you truly need it because it will set you back a pretty penny.

Take good care of your depth micrometer because the thinner rods or blades of some depth micrometers can be bent rather easily which will affect the accuracy of the tool.

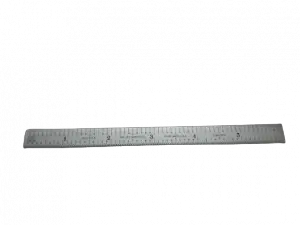
Steel ruler

steel ruler
Steel ruler

It can be easy to overlook the importance a decent ruler but it is an excellent tool to use in laying out your work. No need to break the bank, just find one you trust. Starrett has made good ones for a long time.

One tip: don’t leave it in your pocket. Too many rulers have been broken because someone left the ruler in their pocket and sat down on it.

A tape measure can work too but if taken care of you’ll find that a quality steel ruler will last much longer.

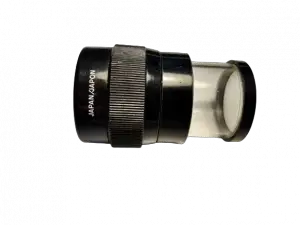
Pocket comparator

eye loupe
Pocket comparator or eye loupe

Sometimes called an eye loupe, pocket comparators are invaluable for checking chamfers, bevels and features with very loose tolerances. Inevitably, someone will over spec a chamfer that could simply be a break edge and this will be the tool you’ll need to measure it.

Most pocket comparators have reticles that can be changed also. This is good for when the reticle becomes too scratched from use.

Something to think about: White reticles can be handy to use when measuring darker materials that make seeing a standard black lined reticle almost impossible.

Toolbox

With all these quality tools hanging around, it is a good idea to keep them safe. Having a nice toolbox to put them away safely will do wonders for protecting them for years to come.

Look for one that is lockable because good tools have a bad habit of walking away in some shops.

A good benchtop box is a solid start, no need to go all out with a huge rolling cabinet.

Gauge pins

gauge pin set
Gauge pin set

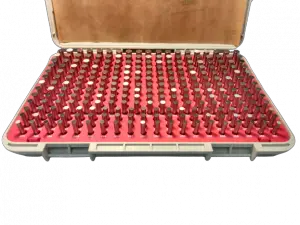
Gauge pins are a great tool for measuring hole sizes among other uses. They are also good to use for calibrating other tools such as your micrometers or for use in creating inspection fixtures.

Telescoping bore gauges

bore gauge set
Telescoping bore gauges

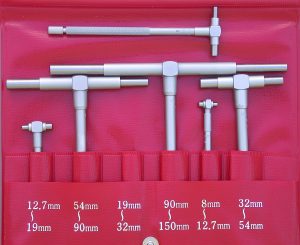
Telescoping gauges are used in conjunction with micrometers to check measurements of internal features such as slots or holes.

The gauge is opened up and locked in place then a micrometer is used to check the measured size once the gauge is removed.

Edge finder

Edge finder or wiggler

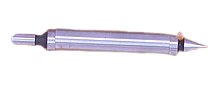
Edge finders are commonly used for locating workpieces when setting up for milling. While spinning, they can be slowly moved towards the workpiece until they are forced off center by the pressure from the workpiece.

Once this happens, you know that the edge of your part is one half of the diameter of your edge finder away from the current machines position.

Deburring tool

afa tooling deburring tool with replacement blades
Deburring tool

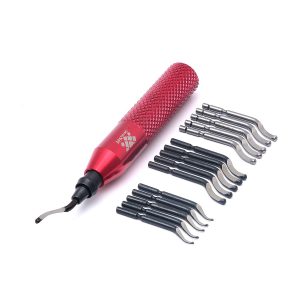
Anyone who has worked in the machine trade knows the pain that comes with slicing your hand on a razor sharp metal burr.

These wonderful little gadgets zip that bad boy right off to protect you and the part. Most shops will have a deburring tool at every machine station.

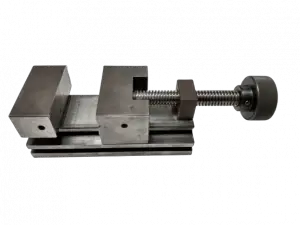
Machinist vise

machinist vise
Machinist vise

There are many different types of work-holding equipment for a machinist to use. Various vises for different situations.

Benchtop vises are great for hand operations such as filing or modifying tooling.

Precision vises such as a flanged or swivel vise are great for use when machining. Vises are excellent tools for inspection use also.

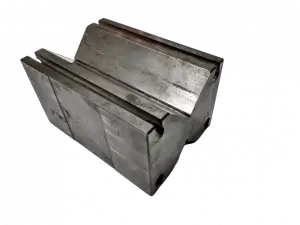
V block

v block
Precision v block

V blocks are indispensable for inspection purposes. They are perfect for holding round parts especially during inspection operations. Many parts will be placed in a v block and rotated for runout, circularity, cylindricity and concentricity checks.

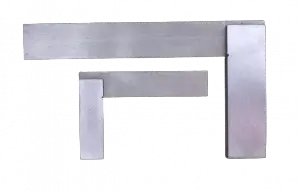
Machinist square

two machinist squares
Machinist squares

Simple machinist squares are great for layout work. Combination squares allow you to do even more complex operations. They aren’t meant for use with extremely precise tolerances.

Precision/vernier protractors fit in this same category and are mostly for reference only.

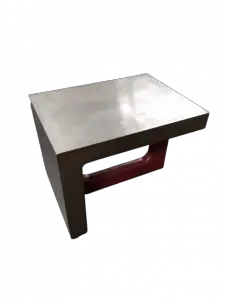
Right angle plate/knee block

knee block
Knee block

Knee blocks allow a workpiece to be located in different positions by clamping it to the knee block at various angles.

It is useful in the inspection of many parts to have a known square surface.

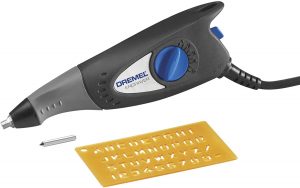
Engraving pen

All of these much needed tools unfortunately have a habit of disappearing when you need them most. A good engraving pen comes in handy for marking your property. 

Double up by stashing your tools in a lockable toolbox and marking them with your name.

Other tools

Did we forget any critical machining and/or inspection tools? If so please let us know in the comments below.

Things to consider

Which tools are best for a beginner machinist to start with?

The best tools to start with are a good set of calipers and a quality 0-1″ micrometer. After that, a couple indicators with varying accuracies and a depth micrometer will be the best additions.

What you need beyond these initial tools will largely depend on the work you are doing, but larger micrometers (like a 0-6″ set) and a set of bore gauges will likely be needed.

Where can you buy used machinist tools?

Used machinist tools can be purchased from a variety of sources. Craigslist and eBay are great sites to watch. Yard sales and estate sales are an often overlooked place to score nice tools.

Related articles

Knurling – All About

What is knurling?

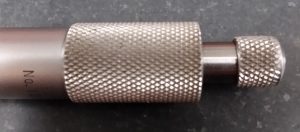
Knurling is the process of creating a pattern on a workpiece to improve the visual appearance or to create a better grip on the part. Knurling uses the tool to displace material. This moving of the workpiece material creates the knurled pattern. A great example of knurling is seen on the thimble of most micrometers. Knurling is also often used on various knobs to provide grip.

Types of knurling

straight knurling example
Straight knurling
diamond knurling example
Diamond knurling

There are four main types of knurling. These are straight knurling, diamond knurling, left hand and right hand knurling. Of these different knurling types, straight and diamond are by far the most commonly used. There are many variations of these patterns including fine, medium, and coarse versions of each. Fine knurling has the lowest profile whereas coarse knurling would have prominent ridges to provide greater friction for gripping.

Cut knurling vs form knurling

Cut and form knurling are the two methods of creating knurling.

Form knurling is the standard form of knurling. Form knurling is pressing the knurling tool into the workpiece to create the raised grooves or teeth.

Cut knurling scrapes away material instead to create the knurling pattern. Cut knurling is better for some materials such as plastic or Delrin.

Does knurling increase diameter?

Form knurling does increase the diameter of the workpiece. This happens because the knurling tool is displacing material (moving it) which pushes material in in some locations and out in others. The amount of increase depends upon whether the knurling is fine or coarse. Coarse knurling has more material displaced and therefore creates bigger valleys and mountains in the workpiece.

Cut knurling decreases the diameter of the workpiece. This occurs because material is removed from the part instead of moved around like in form knurling.

Can you knurl wood?

Yes, wood can be knurled but it is not as simple as knurling metal. Knurling really only works for hard woods in the same way as metal. However, a simple pattern can be created through a process called checkering.  

Can you knurl plastic?

Plastics can be knurled though usually in a different way. Cut knurling is often used instead of standard form knurling.

Can you knurl Delrin?

Yes, you can knurl acetal plastic, also known as Delrin. It will be more difficult than knurling metal but if you manage you speeds, feeds, and depth of cut carefully then you can come out with something that looks nice and is functional. Cut knurling is a good choice for Delrin.

Knurling tips

Do your knurling before your final finishing. Knurling applies pressure to the workpiece and can bend it.

Because the force on the workpiece is so big, make sure that everything is secure including the part and the cutter.

Multiple passes frequently yield the best results

Thoughts?

Got any knurling tips? Share them and we will add them to the list.